EXERCISE 6
GIS ANALYSIS: ATTRIBUTE MANIPULATION
FOR/GGR 525
BE SURE TO SAVE YOUR WORK REGULARLY!!!
 When
editing a layer in ArcMap, make sure you use the Save Edits option on the Editor
toolbar to save edits as a separate process from saving your map.
When
editing a layer in ArcMap, make sure you use the Save Edits option on the Editor
toolbar to save edits as a separate process from saving your map.
INTRODUCTION
The purpose of this exercise is to introduce the student to some GIS analysis that can be done through attribute manipulation within a single coverage.
This is often the first step to any spatial analysis.
INSTRUCTIONS FOR COMPLETING THE EXERCISE
Step 1: Log-on to a computer, start ArcCatalog, navigate
to your tutorial folder and delete all coverages there except your digitized
coverage (fwsenet) and your most recent edited/built coverage (e.g.,
fwseneted).
We will need the space
later and it never hurts to clean up your workspace every now and then.
Step 2: Copy the streams coverage into your directory
using ArcCatalog.
- Use Connect to Folder
 in ArcCatalog to connect to the flag24 dataset on Spruce.
See Exercise 1 for help on connecting to the dataset.
in ArcCatalog to connect to the flag24 dataset on Spruce.
See Exercise 1 for help on connecting to the dataset.
- Double-click the cover folder.
- Drag and drop the streams coverage from the flag24 dataset
to your tutorial folder. You might have to copy and paste the
coverage. You will also have to remove the read-only attribute from anything
you move over from the flag24 dataset. Right mouse-click on the
folder in which you put the coverage, choose Properties, and
uncheck the "Attributes" box. Apply the change.
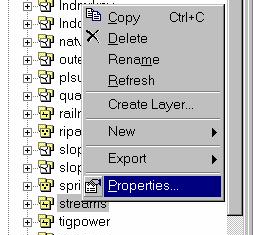
- Right mouse-click the streams coverage in your tutorial folder
.
- Choose Properties.
- Click the General tab. This tab provides information about the coverage
concerning the existing features and topology, for example that the coverage
contains arc and tic features.
Step 3: Inspect the datafiles.
- Double-click the streams.dat table from the Table of Contents
in ArcCatalog. The table should open. Inspect it.
- Click the items tab and inspect the table definition.
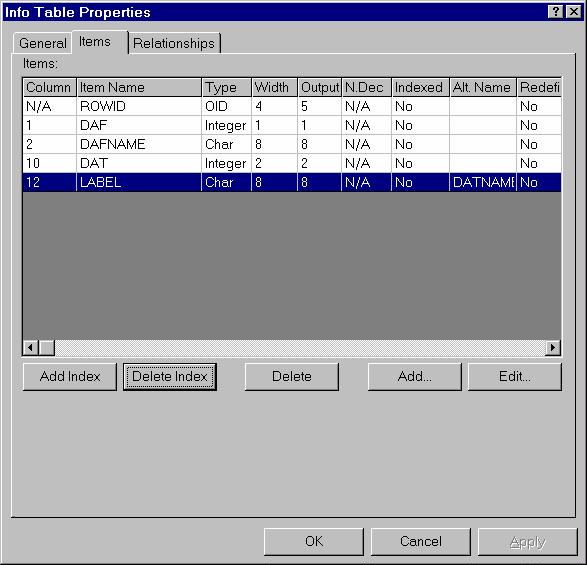
- Click OK.
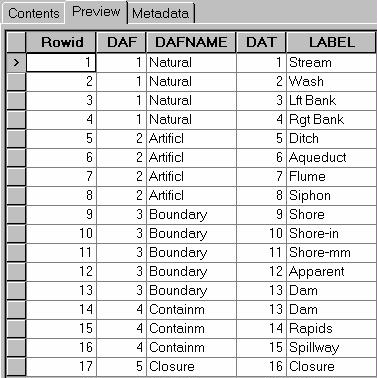
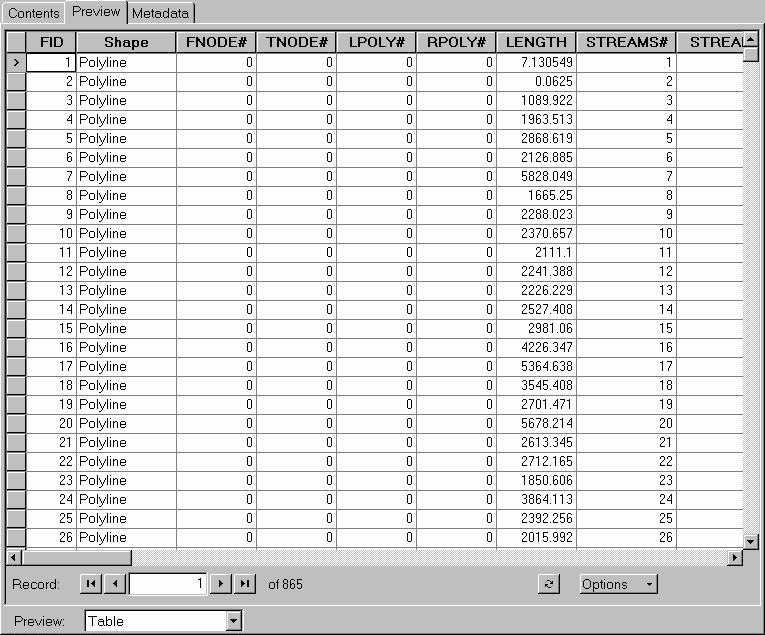
- Now, look at the data in the table by clicking the Preview tab in
ArcCatalog.
- Double-click the arc feature class
 from the Contents tab window. The attribute table definition should
open. Inspect it
from the Contents tab window. The attribute table definition should
open. Inspect it
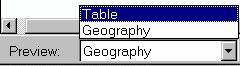
- Now look at the data in the table by clicking the Preview tab in
ArcCatalog and then choosing Table from the Preview:
dropdown (at the bottom of the Preview window).
Step 4: Change the order of the records (sort) based upon
the appropriate attribute's value (in this case length).
- Open ArcMap.
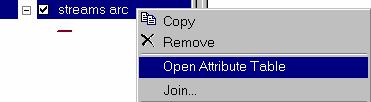
- Add streams arc to the map (add the one in your own space).
- Open the streams arc attribute table by right mouse-clicking it in
the table of contents and choosing Open Attribute Table.
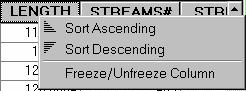
- Now, see how easy it is to sort a table by sorting it on length.
Right mouse-click over the length field and choose Sort Ascending.
Step 5: Create several sets of selected coverage features based
upon attributes which meet the following criteria.
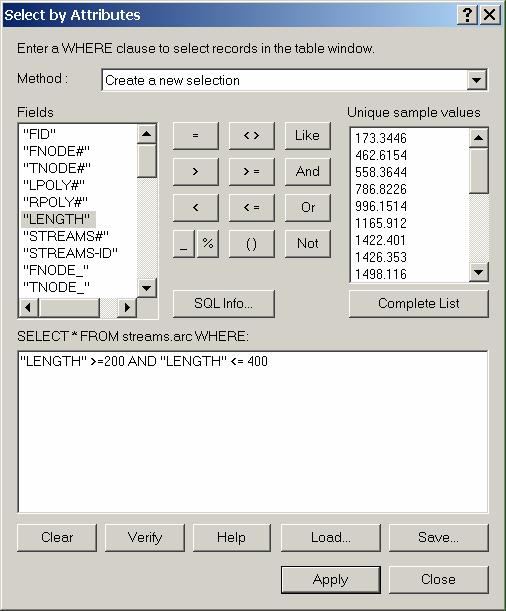
- Select all streams 200-400 meters long.
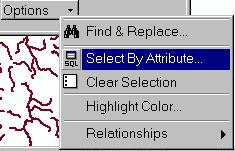
- Click the Options button
 at the lower right of the attribute table document.
- Choose Select By Attribute...
- Double-click "Length" in the left-hand column.
- Click the >= button, then type "200."
- Click the And button.
- Double-click "Length" in the left-hand column again.
- Click the <= button.
- Type "400."
- Be sure the Method says "Create a new selection."
How many are selected?
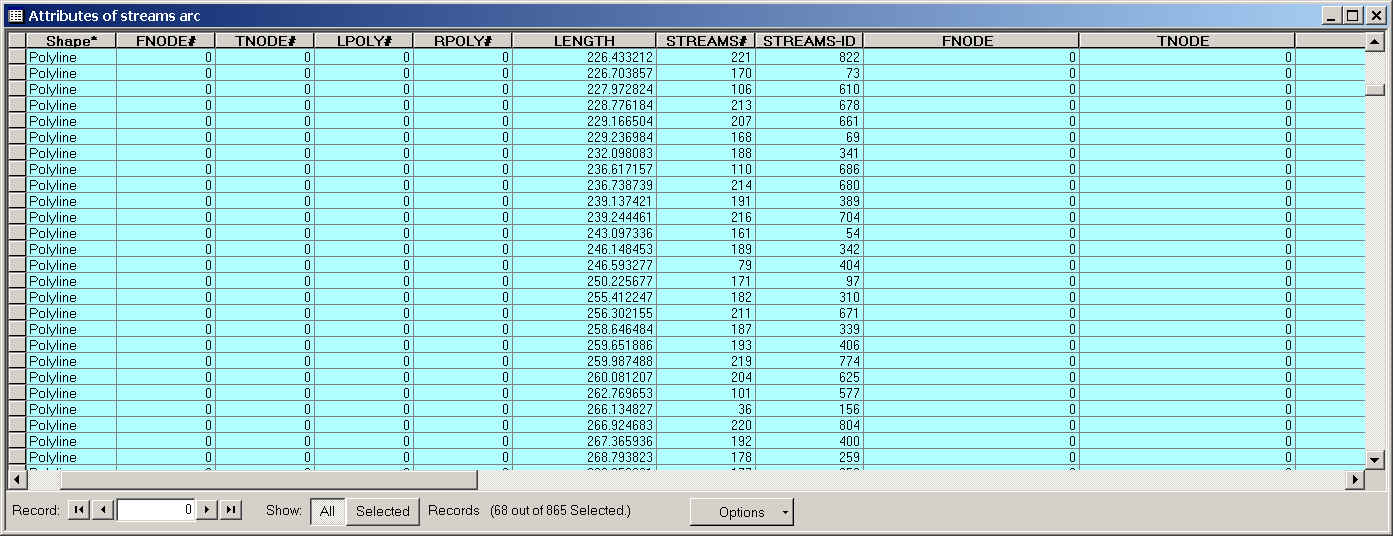
If you look at the bottom you should see that 68 out of 865 records are
selected.
- Add all streams less than 200M to the selected set. First we need to find
out which are washes by looking up the codes in "Dat" in a lookup
table called streams.dat.
- Click the Add Layer
 button.
- Navigate to your tutorial folder.
- Scroll down until you see a table called streams.dat and add
it to ArcMap.
- Right mouse-click streams.dat and choose Open. Look at
the field called "Datname." Find "stream." The "Dat"
code for "stream" is "1." Streams.dat can be referred
to as a lookup table because it is used as a reference to 'look up' information
about the original (in this case the attribute) table.

- Click the Attributes of streams arc table to activate it.
- Click the Options button
at the lower right of the attribute table document.
- Choose Select By Attribute...
- Click the Clear button to clear out the previous query.
- Double-click "Length" in the left-hand column.
- Click the < button, then type 200.
- Click the And button.
- Double-click "Dat" in the left-hand column again.
- Click the = button.
- Click in the far right window - or type- "1."
- Be sure Select Procedure says "Add to current selection."
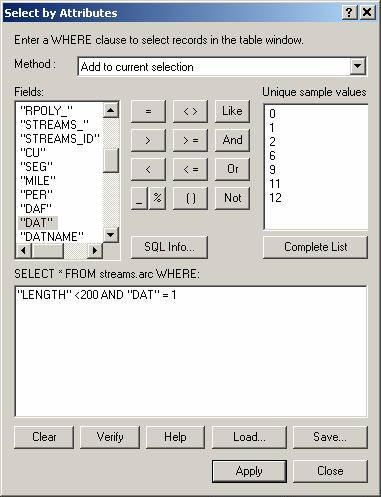
- The selected set should now be greater (111 instead of 68) because we
added to the current selection.
- Quit ArcMap after saving the map if you wish.
Step 6: Add a new item (attribute) to the features attribute
table called "class" in ArcCatalog and re-initiate ArcMap.
- Add a new item to the AAT file.
- Start ArcCatalog, or refresh if ArcCatalog is already open.
- Right mouse-click streams arc.
- Choose Properties.
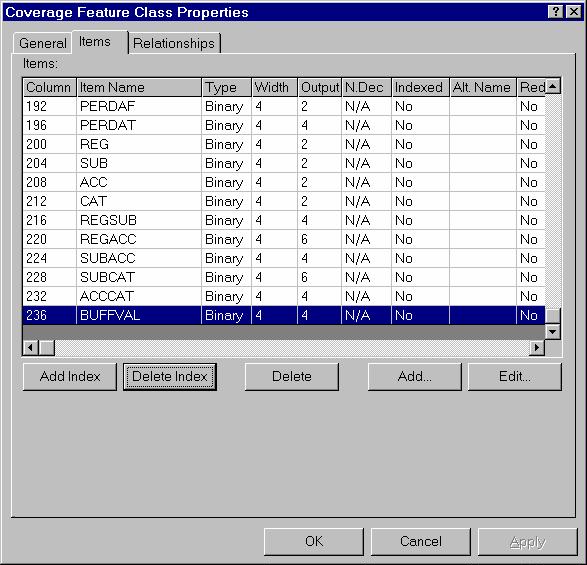
- Click the Items tab.
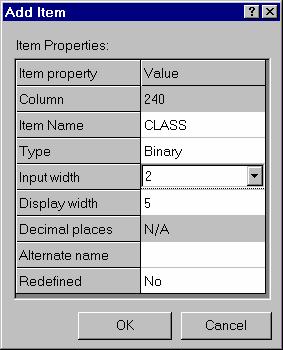
- Click Add. This opens the dialog for adding items to the attribute
table.
- In Item Name type "CLASS."
- For Type choose "Binary."
- For Width choose "2."
- If you typed anything incorrectly, click the Edit button and
change the definitions.
- Re-initiateArcMap.
Step 7: Assign values for the new item (attribute) called CLASS.
- Right mouse-click streams arc and choose Open Attribute Table.
- Scroll to the right until you see the item "CLASS."
- Scroll up and down to see that all record values for "CLASS" are
0.
Notice CLASS=0 for all records.
- Repeat the query above for finding all streams of length less than 200 m.
- Your selected set of data are less than 200 meters (the "selected set").
Assign the value "10" to the item "CLASS."
- Since you will be assigning data to the "CLASS" field or item,
right mouse-click the field at the top on the field name.
- From the Editor toolbar, choose the Editor pulldown
 .
.
- Click Start Editing.
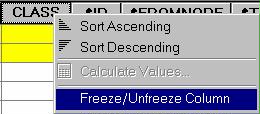
- Choose Freeze/Unfreeze Column by right clicking on the
"CLASS" field.
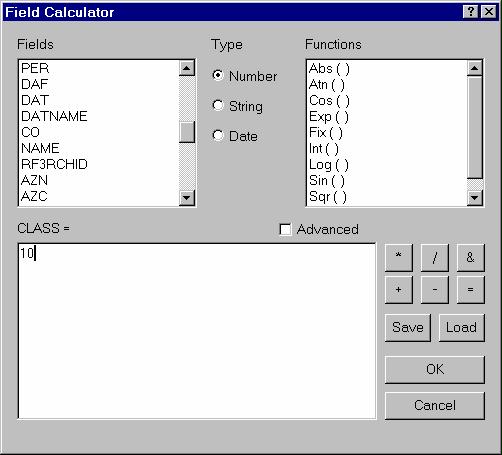
- Right mouse-click the "CLASS" field again and choose Calculate
Values.
- Notice that the field for which you are calculating values ("CLASS")
already appears in the Field Calculator window.
- Type "10" in the window.
- Select the appropriate streams for "CLASS = 20" and "CLASS
= 30" and assign the values.
- Perform a new query to select streams greater than or equal to 200 m
and less than or equal to 500 m.
- Use the Field Calculator to make the "CLASS" value
for these streams equal to 20.
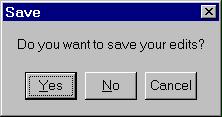
- Save your edits at this time.
- Perform a new query to select streams greater than or equal to 500 m.
- Use the Field Calculator to make the "CLASS" value
for these streams equal to 30. If you are asked if it's okay to remove
redo/undo information for calculating many records, answer Yes.
This saves space and time by not saving your edit session, but makes it
so that you are unable to use Undo/redo for this process.

- Scroll through the table to verify the results. Make a layout
showing the selected streams, and turn it in to your TA.
- Save your edits and exit ArcMap.
In
the next exercise we will continue with another GIS analysis technique - creating
buffer zones and corridors.
 Return to Class Home Page...