EXERCISE 8
GIS ANALYSIS:OVERLAYING & COMBINING COVERAGE FEATURES
FOR/GGR 525


BE SURE TO SAVE YOUR WORK REGULARLY!!!

  When editing a layer in ArcMap, make sure you use the Save Edits option on the Editor toolbar to save edits as a separate process from saving your map.


INTRODUCTION

The purpose of this exercise is to introduce the student to overlay analysis using polygon coverages. The OVERLAY commands operate on individual coverages and are used for geographic analysis and data management. They are conceptually divided into 4 groups:
  1. Buffer generation - existing features are used to generate buffer zones; geographical analysis.

    Command: BUFFER

  2. Boundary operations - new coverages are created based on coordinate boundaries; primarily data management.

    Commands: APPEND, CLIP, ERASE, MAPJOIN, SPLIT, UPDATE

  3. Logical operations - new coverages are created based on attribute values; geographical analysis.

    Commands: DISSOLVE, ELIMINATE, RESELECT

  4. Spatial joins - new data relationships are created using feature locations to join attribute tables together; geographical analysis.

    Commands: IDENTITY, INTERSECT, UNION

In this exercise we will concentrate on the SPATIAL JOIN commands.

INSTRUCTIONS FOR COMPLETING THE EXERCISE

Step 1: Three ArcInfo commands can perform polygon overlay: UNION, IDENTITY, and INTERSECT (see Fig. 1). Think about the following criteria and which overlay command(s) you would use to achieve final product (coverage). Illustrate the results of the following operations (Criteria A,B,C) using Boolean Logic and Venn Diagrams. Hand this in to your lab instructor.

Criteria A ) Locate all areas which have either ponderosa pine vegetation or are owned by the National Forest Service.
Coverages= (1) NATVEG
= (2) LNDOWNER
Items (values)= (1) DESCRIP ('*PONDEROSA*')
= (2) LANDOWNER ('NFS')
Criteria B ) Locate all areas that belong to the Forest Service and all areas containing ponderosa pine within this forest service land.
Coverages= (1) NATVEG
= (2) LNDOWNER
Items (values)= (1) DESCRIP ("*PONDEROSA*")
= (2) LANDOWNER ("NFS")
Criteria C ) Locate all areas which have both ponderosa pine and belong to the forest service.
Coverages= (1) NATVEG
= (2) LNDOWNER
Items (values)= (1) DESCRIP ("*PONDEROSA*")
= (2) LANDOWNER ("NFS")

Figure 1. Diagram illustrating the use of three polygon overlay commands:
UNION, INTERSECT, and IDENTITY.


Step 2:  Copy the lndowner and natveg coverages from flag24/cover to your Z:\ workspace.

  1. Log-on to the workstation, and initiate ArcCatalog.
  2. In ArcCatalog, drag and drop the lndowner and natveg coverages from flag24/covers to your flag24 workspace. 

Step 3: Preview the geography and tables of both coverages to familiarize yourself with them.

  1. Go into ArcCatalog and look at the attribute tables for lndowner and natveg (e.g., .PAT, .LUT, etc.). 
  2. Select the datafiles, list the items, the data, and familiarize yourself with the codes.

Step 4: Combine features of the input coverage (lndowner) with features of the overlay coverage (vegetation) so that the resulting coverage contains what is given in Criteria A.

  1. From ArcToolbox, choose Extract/Select.


  2. Select the forest service land from the lndowner coverage, according to Criteria A.


  3. Select the ponderosa pine from the natveg coverage, according to Criteria A.

  4. Combine the coverages according to Criteria A) and specify the output coverage.
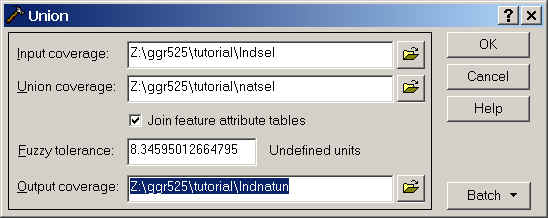
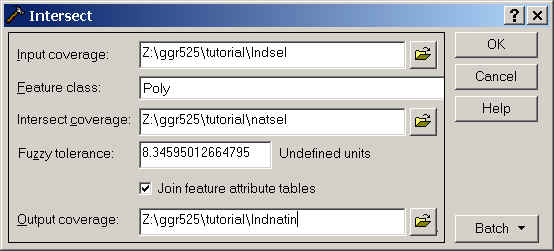
    1. From ArcToolbox, choose Overlay/Union.


    2. The input coverage is lndsel, the union coverage is natsel and name the output lndnatun. You will want attributes from both tables so be sure that Join feature attribute tables is checked.


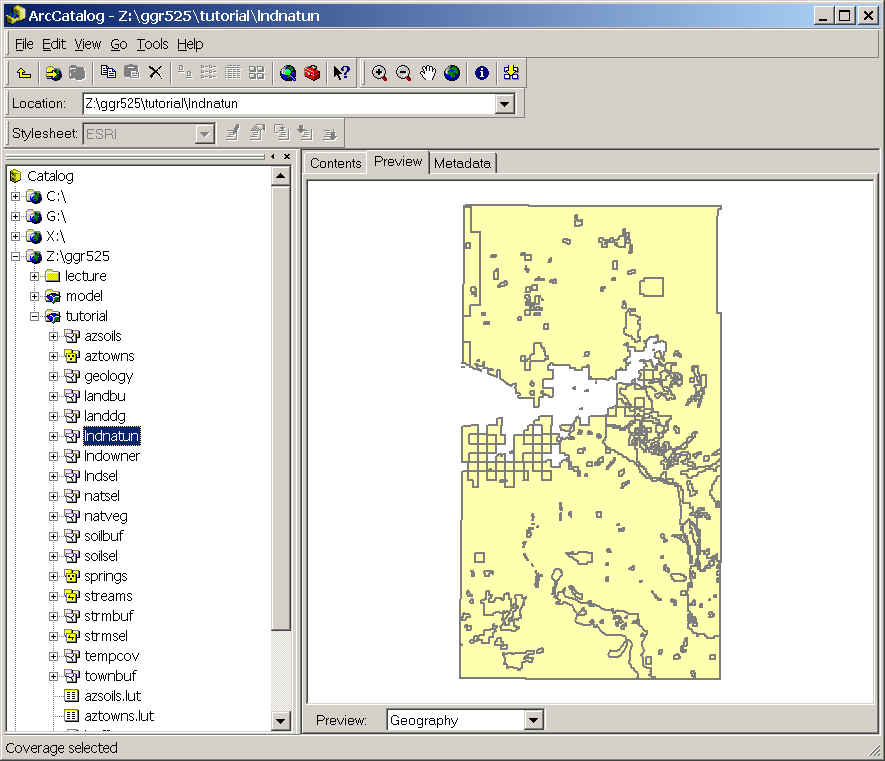
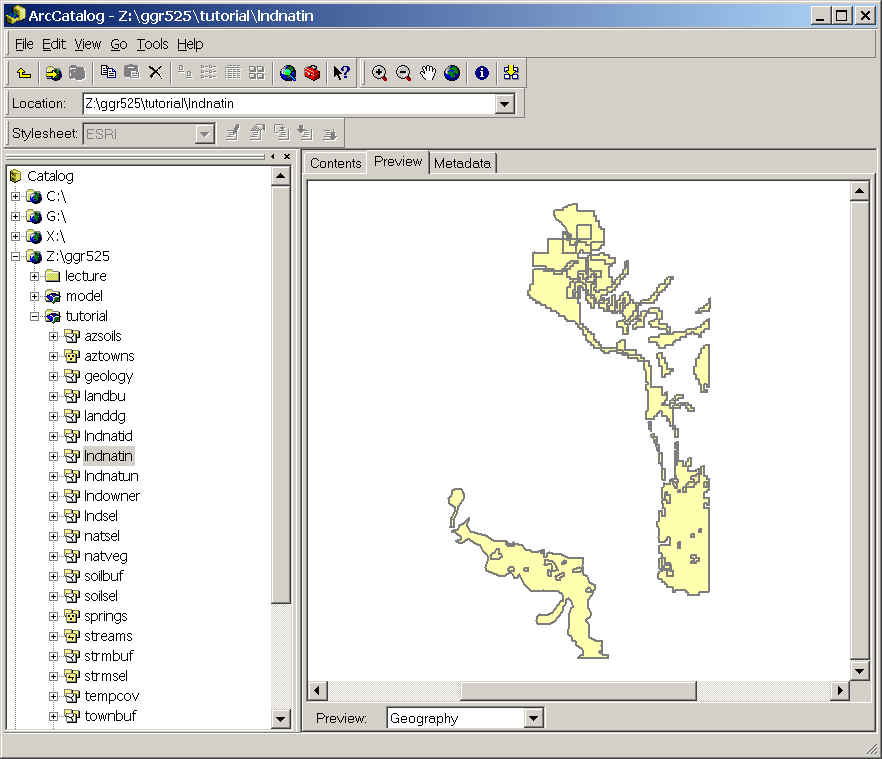
    3. Preview the geography of the output in ArcCatalog noticing where vegetation features have been added to ownership features.


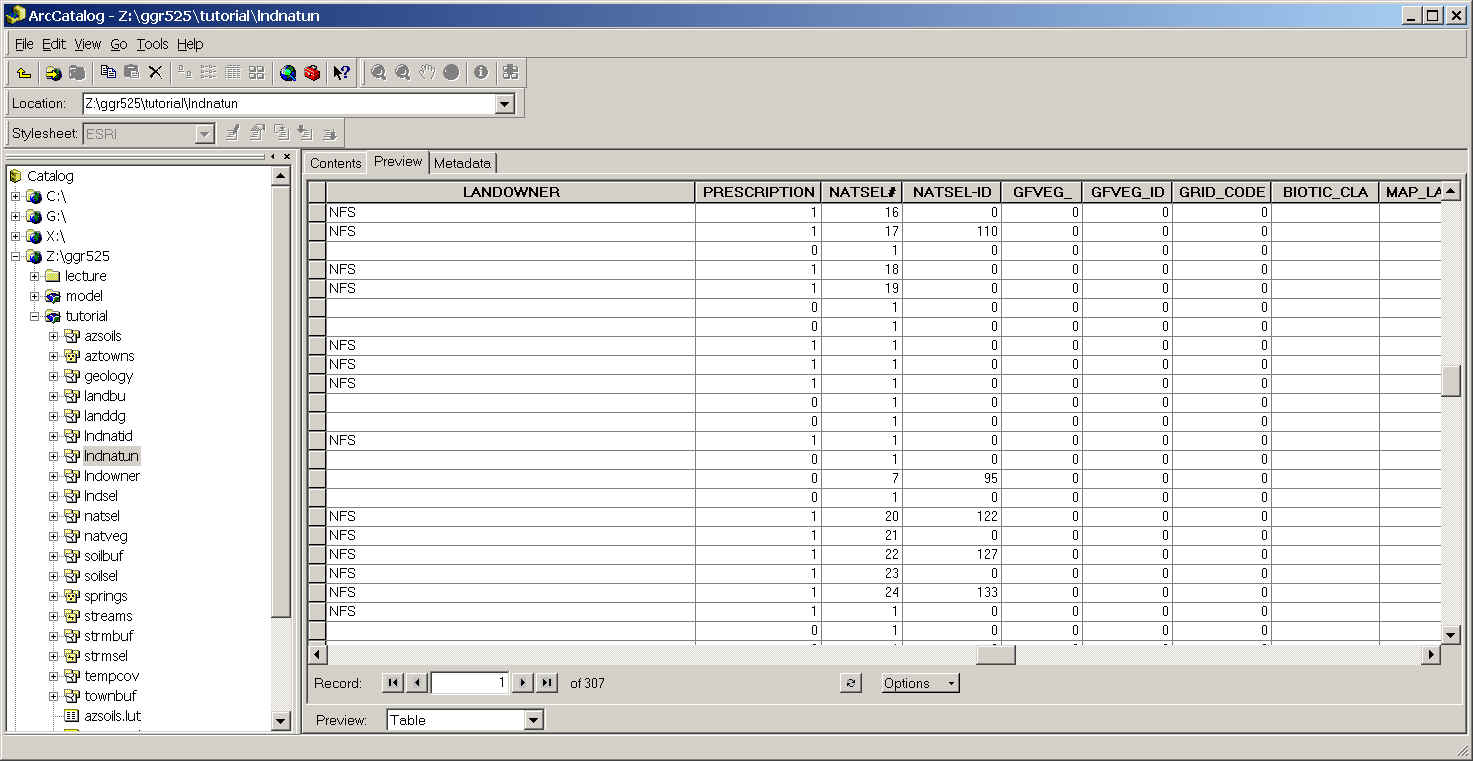
    4. Preview the table and notice how attributes from both coverages exist in the table now.


Step 6: Now combine features of the input coverage (lndsel) with the features of the overlay coverage (natsel) so that the output coverage meets requirements in Step 1 Criteria B.

  1. In ArcToolbox choose Overlay/Identity.


  2. The input coverage is lndsel, the identity coverage is natsel and name the output lndnatid. You will want attributes from both tables so be sure that Join feature attribute tables is checked.


  3. Preview the output in ArcCatalog. What is the difference between lndnatun and lndnatid?

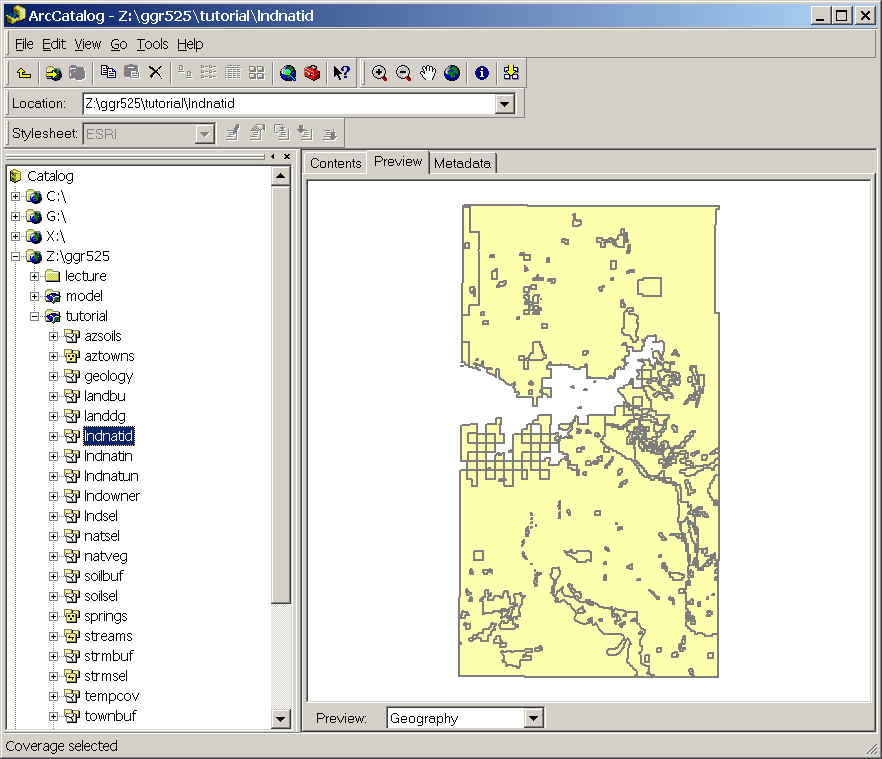
Step 7: Combine the features of the input coverage (lndsel) with the features of the overlay coverage (natsel) so that the output coverage meets the requirements of Step 1 Criteria C.

  1. In ArcToolbox select Overlay/Intersect.
  2. The input coverage is lndsel, the intersect coverage is natsel and name the output lndnatin. You will want attributes from both tables so be sure that Join feature attribute tables is checked.


  3. Preview the output in ArcCatalog. What is the difference between lndnatin and lndnatid?

Step 8: Display the output coverages of the three overlay operations in ArcMap and compare the results.  Make a layout showing these three coverages, and hand it in to your TA.  

Step 9: You will not need these particular coverages again, so you can delete all coverages related to this exercise in ArcCatalog. You do not have to do this, but you will need disk space for your MODEL.

Step 10: Quit the programs and log off.


Return Return to Class Home Page...