![]() When editing a layer in
ArcMap, make sure you use the Save Edits option on the Editor toolbar to save
edits as a separate process from saving your map.
When editing a layer in
ArcMap, make sure you use the Save Edits option on the Editor toolbar to save
edits as a separate process from saving your map.
The purpose of this exercise is to introduce the student to a relational database - INFO. The student will learn the first step in entering attribute information - create a data file that will be used to store some coverage attributes. You will specify the name and type of fields (items or columns) in the database file and then add data to this file as rows (records).
In the previous exercise, you learned how to enter the spatial features (points, lines, polygons) of a coverage into a GIS using heads-up digitizing. Then you learned how to modify or edit these spatial features using the ArcMap program. In addition to the spatial features, there are non-spatial attributes associated with this coverage that are stored in a tabular database file called a feature attribute table. A feature attribute table is a database file containing several standard, predefined columns. You added one field called Name to the attribute tables using ArcCatalog. Now you will see how this looks from the relational database software.
Feature attributes can be placed in the feature attribute table, or in another database file. One of the presentation topics discusses reasons for using separate database files, called related tables. In this exercise, we will add an Owner-code field to the feature attribute table, and then make a new table to reference the Owner-code values. You must create the new data file and define the new fields before you can add data to it. Eventually the spatial and non-spatial data will be linked together.
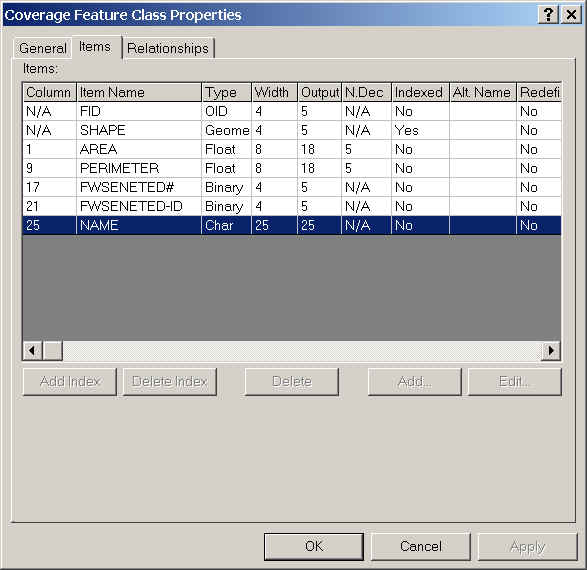
- The list of Items (Item Name) are the columns in the attribute table. We will add data to these items. The data will be attributes for the coverage fwseneted.
- The item FWSENETED-ID field contains the polygon number for each polygon in the coverage (recall that you digitized at least 4 polygons). The item NAME contains the name of each polygon (feature).
- The Width is the space required to store the data in the field, and Output is the space required to display the data in the field.
- The Type is whether the specific field is stored as integer, binary, numeric, character, etc...
2. Log onto the computer and start ArcCatalog.
3. Add a field to fwseneted which will hold a code representing a specific ownership type (e.g., 111 = City of Flagstaff), and will be used to relate this table to other tables in subsequent exercises.
4. Next you will create a new attribute table (don't confuse this with a feature attribute table),.
- Click the plus sign of fwseneted to see the layers below it in ArcCatalog.
- Right mouse-click the polygon layer and choose Properties. The table that appears should look similar to the one above.
- If the buttons at the bottom of the window are dimmed, close ArcMap (it's already using the file and doesn't want to share it). Then right-click the fwseneted coverage in ArcCatalog and choose Refresh. This allows you to edit the Properties.
- Click the Add... button to add a new field (item). This field will hold the Ownership-code (a 3-digit number) for each polygon. Define it as shown below.
- Click OK. You should now see the new field in the table. Notice the field name is uppercase.
- Click OK to close the feature attribute table. We want to add codes to this table to represent ownership, but although we edited the table properties in ArcCatalog, we can only edit the table data in ArcMap. Since we are only adding codes (short numbers), we will make another table to hold the code look-up values (sometimes called a lookup table). Let's do this first while still in ArcCatalog, and then edit the data values of both in ArcMap later.
- In ArcCatalog, right mouse-click the tutorial folder and choose New INFO table...
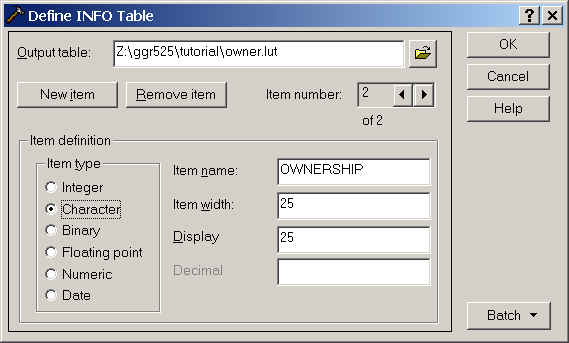
- In the Define INFO Table window, call the table owner.lut.
- In the Item Name type in box, type Owner_code and set the other properties the same as the Owner_code item we added to the feature attribute table above.
- Click New item.
- Call the new item Ownership. You will later enter the name of the owner in this field to match each ownership code.
- In the Item type radio-button control box, choose Character.
- Make the Item width: and Display 25.
- Click OK.
- Scroll down in ArcCatalog to find the new table, which will be listed near the end.
5. Now add data to the lookup attribute table and the feature attribute table.
- Start ArcMap and open a previous map or use a new one.
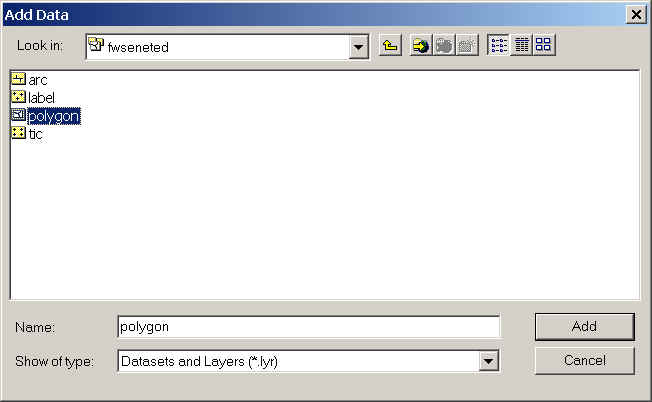
- Click the Add Data button and add fwseneted polygon. Be sure to double-click fwseneted to see the layers below.
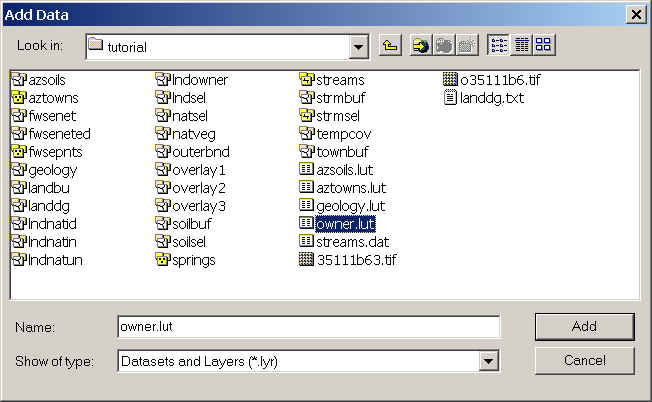
- Click the Add Data button and add owner.lut.
- Open the Editor toolbar, click the Editor pull-down menu and choose Start Editing.
- Right mouse-click on the fwseneted polygon layer and choose Open Attribute Table.
- Click in the first cell under Owner-code. Type the Owner-code value here using the value you entered under Name in this row to determine the appropriate number. All values will fall in the following categories:
City 111
State 131
Federal 314
Private 219
- Click in the next cell and enter the number, until rows have a value. Just guess if you aren't sure of the owner. Remember to enter numbers only in this field because we specified it as an integer field when we added it.
- Save Edits from the Editor pulldown of the Editor toolbar. Then save your map.
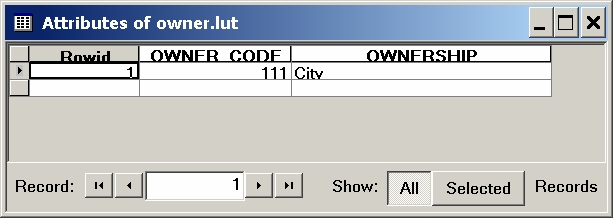
- Right mouse-click owner.lut and choose Open.
- Click in the Owner-code cell of the first row. Enter the first code of 111. Tab to the Ownership field and type City.
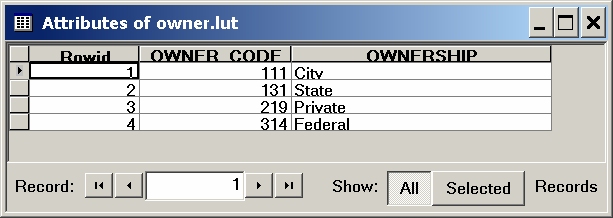
- Do the same for the rest of the codes, using the list above (5F). Your table should similar to mine when done. Don't worry if your Rowid is not the same as mine, or if your values are in a different order.
- You have made a lookup table! Pat yourself on the back, save your edits, and stop editing. Make a screen capture of your new owner.lut, print it out, and turn it in to your TA.
- Save your map and exit ArcMap. Selecting specific records, and relating (and joining) the attribute data to the spatial data will be accomplished in the next lab.